I got a avrdude: stk500_getsync(): not in sync error while uploading the code to the micro-controller using avrdude. I tried different ways like changing the com port, reconnecting the USB cable as suggested by our TA but it didn't work for me.
Finally, i realised that the problems comes up when i try to burn the code with LCD connected to the respective pins . So, i tried with removing the LCD connectors during uploading the code and it worked out fine . This piece of text can help if others are facing such problem.
Do not let the connecting cables to touch each other. This can blow up the main IC.
Wednesday, January 26, 2011
Tuesday, January 25, 2011
LCD doubt
While I was making the program for LCD I figured out that the accuracy of LCD is pretty low. If I make the program dispaly "tanmay" it shows "vounmay" and for "abcd" it was showing "abcd" in one blink and "afgf" in another and also random charcters some time. Has anyone else also been experiencing something and what could be the possible error?
Saturday, January 22, 2011
Another possibility for Coding Purposes
There is another development platform known as "Arduino" :-
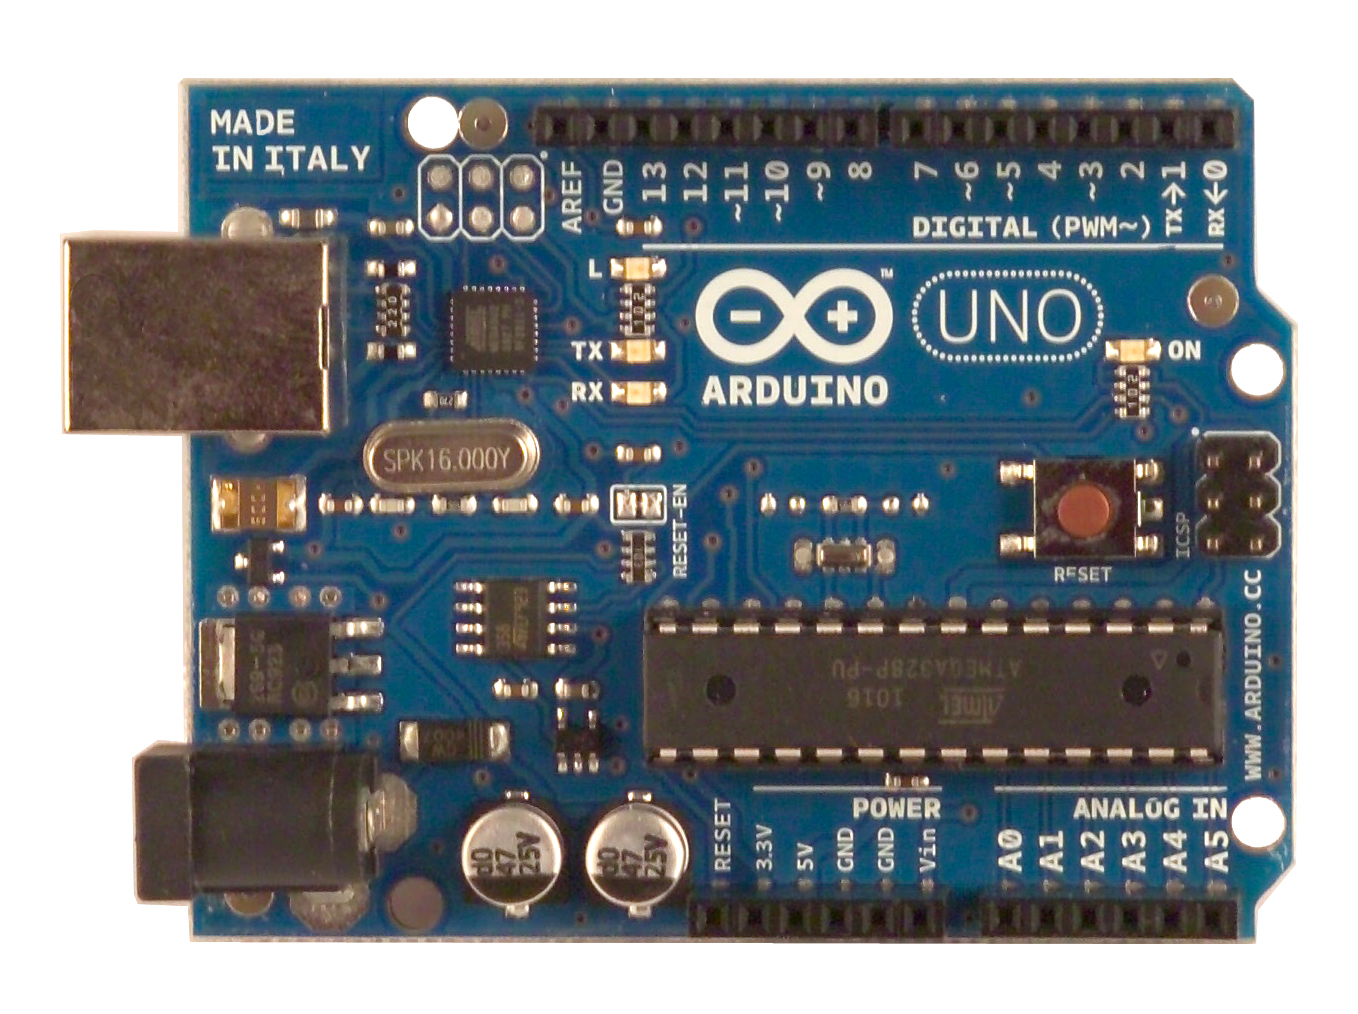
This development platform is fully supported by our boards, has a good community support, very simple and precise syntax, inbuilt functions for majority of operations, awesome library support, support on all types of operating systems. This platform functions on the basis of Pin Numbers and not Ports, and thus reduces the syntax quite considerably.
"Arduino is an open-source electronics prototyping platform based on flexible, easy-to-use hardware and software. It's intended for artists, designers, hobbyists, and anyone interested in creating interactive objects or environments." quoted from the homepage...
This development platform is fully supported by our boards, has a good community support, very simple and precise syntax, inbuilt functions for majority of operations, awesome library support, support on all types of operating systems. This platform functions on the basis of Pin Numbers and not Ports, and thus reduces the syntax quite considerably.
This platform has an IDE for its own, whose installations instructions can be found here. The latest version of IDE is 0022, which is still alpha for windows but is quite stable on linux.
The IDE is only about 3.5MB for linux, whereas it is about 180MB in windows as the developers provide all the packages consisting of all the pre-requisites as well.
Though i haven't tried the IDE on windows, because of the same reasons Arjun explained in his post, for linux, there are a few pre-requisites, namely being pre-installed JVM, gcc-avr, avr-libc and avrdude, installation is done by :-
sudo apt-get install gcc-avr avr-libc avrdude arduino arduino-core
I am assuming that JVM is already installed and all repositories are pre-selected. For more help, one may refer here.
The IDE is only about 3.5MB for linux, whereas it is about 180MB in windows as the developers provide all the packages consisting of all the pre-requisites as well.
Numerous examples are already available, which are accessible from the IDE itself and burning the code onto the board is also very simple(just click of a button) once the IDE has been correctly configured
Arduino version of the practical done on Thursday's lab session is as follows :-
"void setup() {
// initialize the digital pin as an output.
// Pin 13 has an LED connected on most Arduino boards:
pinMode(13, OUTPUT);
}
void loop() {
digitalWrite(13, HIGH); // set the LED on
delay(1000); // wait for a second
digitalWrite(13, LOW); // set the LED off
delay(1000); // wait for a second
} "
Yes, thats it !!! No need of including headers and other stuff, just write this on the IDE, compile/verify the code and upload onto the board.
Friday, January 21, 2011
Compiling and burning code for AVR ATmega328P on Linux
I know most of you here would prefer developing on Windows, since that's the environment you're most comfortable in, but for me, booting into Windows meant three things:

The environment:
We will use vim for writing the code. Let's start with something we did in Thursday's lab:
I hope this will help the minority which wants to program the AVR board on Linux. Good luck!
PS: There's an easy way. You could use this Makefile to automate the tasks.
PPS: There's an even easier way. Just install the AVR plugin for Eclipse. It does everything for you.
Constructive criticism welcome.
- Loss of my awesome uptime on Linux (You don't get to six days of uptime without making a few enemies)
- Venturing into an unfamiliar territory
- Loss of productivity. Games.
Therefore, I decided that I will setup my development environment on Linux.

What you will need:
- gcc-avr - compiler
- avr-libc - standard AVR C library
- avrdude - burner
- simulavr - simulator
- vim (or any other editor) - for, you know, stuff.
To install all of them together, do:
sudo apt-get install gcc-avr avr-libc avrdude simulavrNote that you do not need the FTDI driver, since FTDI support is built into the Linux kernel
The environment:
We will use vim for writing the code. Let's start with something we did in Thursday's lab:
#define F_CPU 16000000UL
#include <avr/io.h>
#include "delay_x.h"

int main() {
  DDRD = 0x20;
  while (1) {
    PORTD |= 0x20;
    _delay_ms(100);
    PORTD &= ~0x20;
    _delay_ms(100);
  }
}avr-gcc -mmcpu=atmega328p leds.c -o leds.outNow we need to create a hex file containing the .text and .data part of the object to burn onto the board. We will use avr-objcopy for this.
avr-objcopy -j .text -j .data -O ihex leds.out leds.hexGreat! Now that we have the hex file, let's burn it onto the board. We're gonna use AVRDUDE for this. We need to specify the port (which you can see by running "demsg | tail" after you plug in the board), the baudrate (57600 is good), the programmer (m328p), and the programmer ID (let's use AVRISP). The complete command will be:
sudo avrdude -P /dev/ttyUSB0 -b 57600 -p m328p -c AVRISP -F -e -U flash:w:leds.hexGreat! Now you've burnt this program onto the board! Test it out by connecting the LED's red wire to pin 5, and yellow wire to ground.
I hope this will help the minority which wants to program the AVR board on Linux. Good luck!
PS: There's an easy way. You could use this Makefile to automate the tasks.
PPS: There's an even easier way. Just install the AVR plugin for Eclipse. It does everything for you.
Constructive criticism welcome.
Sunday, January 2, 2011
Welcome to the Introduction to Embedded Systems Course, IIITD, 2010
Dear friends
Welcome to the course on Introduction to Embedded Systems for Winter 2011. I hope that you will get exposure to basic functionality of a microcontroller and its interfaces as well as understand how such a simple (and cheap!) device can be used for doing smart things around you. We will use this space to follow up with discussions related to the course that may include - interesting articles, doubts you want to be clarified by your peers and other related discussions.
Some protocols for posting on the blog:
- Has to be more than 80% of your own content: Rewording whatever is out there somewhere does not count as your own content
- Whatever you copy has to have the appropriate reference
- Write the complete rough draft and read through it to make sure you understand it yourself before publishing the post
- Make sure you understand what you are writing and don’t just publish something for the sake of doing it
Subscribe to:
Posts (Atom)